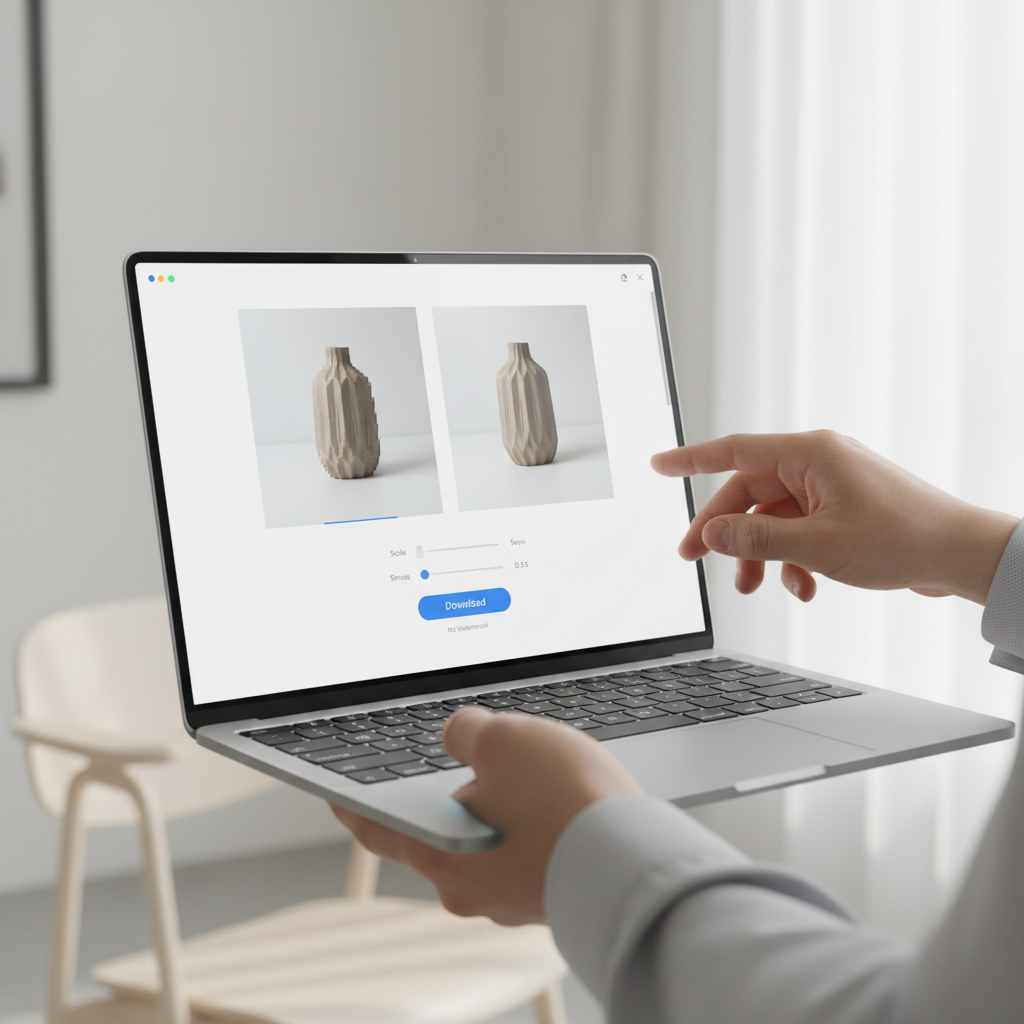
Top free ai image upscalers online can save a blurry product shot or an old family photo, but the real headache is finding one that exports clean, without a watermark, and without quietly shrinking quality.
If you work in ecommerce, real estate, social media, or just want prints that don’t look pixelated, upscaling matters because resolution affects trust, clicks, and how “professional” an image feels at a glance.

One quick clarification before we dive in, “free” often means free up to a daily limit, slower queues, or fewer export options, and “no watermark” sometimes depends on whether you pick the right download button or the right format.
This guide focuses on practical picks, what they do well, where they disappoint, and how to choose based on your real use case rather than tool hype.
What “no watermark” really means (and where people get tripped up)
When people search top free ai image upscalers online, they usually mean “I want the upgraded image without a logo overlay,” but in practice there are a few common twists.
- True no-watermark export: the saved file has no visible branding and no forced border.
- Preview watermark only: the preview looks watermarked, but the final download is clean.
- Account-gated export: no watermark, but you must sign in to download, sometimes with a free account.
- Hidden “free” limits: no watermark, yet resolution cap, file size cap, or “credits” that run out fast.
Also worth noting, some platforms don’t place visible watermarks but may add metadata, that’s usually fine for normal use, but for strict client workflows you may want to check file properties.
Quick comparison table: free online upscalers that commonly export clean
Tool policies change, and free tiers vary by region, traffic, and time. Treat this as a practical shortlist to test, not a permanent guarantee.
| Tool | Best for | Typical free limit | Watermark behavior | Watch-outs |
|---|---|---|---|---|
| Upscale.media | Fast, simple upscales | Often limited batch/size | Usually clean downloads | May require sign-in for some options |
| Pixelcut Upscaler | Product photos, social | Free exports with limits | Commonly no watermark on upscales | Other Pixelcut tools may watermark on free |
| Icons8 Smart Upscaler | Portraits, clean edges | Limited free upscales | Often clean depending on tier | Free tier can be restrictive |
| Fotor AI Upscaler | All-in-one editor + upscale | Credits/daily limits | Varies by export path | Easy to click a “watermarked” download option |
| CapCut (web tools) | Creator workflow | Feature-dependent | Can be clean for certain outputs | Some exports in other tools may watermark |
According to Adobe, image resolution and quality play a major role in how assets render across devices and print formats, which is exactly why you want to check the final exported file rather than trusting a preview.
Top picks: how these free online upscalers behave in real use
Below are the tools that, in many everyday scenarios, are easiest to use when you want a clean export. I’m not ranking them as “the one winner” because the best choice depends on what you’re upscaling.
Upscale.media: straightforward, low-friction upscaling
If you want a clean interface and a quick before/after slider, Upscale.media tends to be the least “busy” experience. It’s a good default when you’re not sure what else to try.
- Works well for: general photos, light blur, moderate compression.
- Usually disappoints on: heavy noise, extremely low-res faces, tiny text.
- Tip: export PNG if your image has text or sharp edges, JPEG if you need smaller size.
Pixelcut Upscaler: strong for ecommerce-style images
Pixelcut is popular with small shops and creator teams because it’s tuned for “sellable” visuals. The upscaler typically aims for crispness without making everything look oversharpened.
- Works well for: product shots, simple backgrounds, social content.
- Common pitfall: mixing tools inside one platform, some features watermark on free tiers even if the upscaler output is clean.
Icons8 Smart Upscaler: clean edges, decent portraits
Icons8 often does a nice job on edges and smooth gradients. For portraits, it can be a reasonable option if you’re trying to avoid the “plastic skin” effect some upscalers introduce.
- Works well for: headshots, marketing graphics, brand-friendly visuals.
- Watch: free limits can feel tight if you’re processing lots of images.
Fotor AI Upscaler: convenient if you already edit there
Fotor makes sense when you want basic edits and upscaling in one place. The main issue is navigation, you can end up exporting through a route that adds a watermark even when another export option stays clean.
- Works well for: quick enhancements, social-ready images.
- Tip: double-check export settings and preview the saved file locally.
Self-check: choose the right upscaler based on your image type
Before you upload anything, answer these quickly. It saves time and helps you avoid blaming the tool for a problem that’s really in the source file.
- Is the image blurry or just low-resolution? Blur needs “detail reconstruction,” low-res needs “pixel enlargement,” tools handle these differently.
- Does the image include text or logos? Pick an upscaler known for sharp edges, export as PNG when possible.
- Is it a face? Some upscalers add uncanny details, test 2 tools and compare at 100% zoom.
- Is the file heavily compressed? Expect artifacts, you may need a light denoise step first.
- Where will it be used? Web, print, marketplace listings, each has different tolerance for artifacts.
If you’re doing print work, it’s usually smarter to target the final print size and DPI rather than “4x because it sounds good.” According to Apple’s support guidance on image quality and printing, source quality heavily affects output clarity, and enlarging beyond what the original can support may produce visible artifacts.
Practical workflow: get a clean upscale without wasting time
This is the repeatable flow I’d use if I had to process ten images quickly and avoid watermarks or surprise limits.
- Start with your best source: original file, not a screenshot, not a social re-upload.
- Run one test image: check whether the download is clean and what the maximum free export looks like.
- Upscale once, not five times: repeated upscales can compound artifacts and make textures weird.
- Inspect at 100%: zoom in on eyes, hair, text edges, product corners, and flat gradients.
- Export smart: PNG for crisp UI/text, JPEG for photos where file size matters.
- Keep a naming system: include “2x” or “4x” and tool name in the filename to avoid mix-ups.

Common mistakes that cause watermarks or “fake” quality gains
Most frustration comes from a few predictable missteps, not from the AI being “bad.”
- Downloading the preview: some sites show a clean preview and a separate “free download” that includes branding, or the reverse.
- Confusing enhancement with upscaling: sharpening can look impressive until you zoom in, then it’s halos and crunchy edges.
- Upscaling tiny text: AI often invents characters, for signage and labels, you may need manual retyping or a vector remake.
- Ignoring color shifts: some tools subtly change white balance, check product photos against your brand colors.
- Uploading sensitive images: with any online tool, consider privacy and usage terms before uploading personal or client content.
If you’re working with client assets or regulated industries, it’s reasonable to review the provider’s data handling terms, and when in doubt, use an offline workflow or ask your organization’s legal or security team.
Key takeaways (so you can pick fast)
- “No watermark” depends on the export path, verify with one test download before batch work.
- Product photos and portraits behave differently, keep two tools bookmarked for quick A/B checks.
- PNG vs JPEG matters, the “wrong” format can erase the quality you just gained.
- Don’t over-upscale, aim for the resolution you need, not the biggest number.
Conclusion: the best free option is the one that matches your image and your constraints
The most reliable way to use top free ai image upscalers online is to treat them like quick utilities, run a single test image, confirm the download is clean, then scale up your workflow. In many cases, Upscale.media is a calm starting point, Pixelcut fits ecommerce visuals, and Icons8 can be a nice backup for portraits, but your image type and export needs will make the final call.
If you want one simple action today, pick two tools from the table, upscale the same image in both, then compare at 100% zoom before you commit to a batch.
FAQ
What are the top free ai image upscalers online that don’t add a watermark?
Tools like Upscale.media, Pixelcut’s upscaler, and Icons8 Smart Upscaler often provide clean exports on their free tiers, but limits and export paths change, so a quick test download is the safest check.
Why does my download have a watermark even when the preview looks clean?
Some services watermark only specific export buttons or formats. Look for alternate download options, check whether sign-in is required, and confirm you’re not saving a preview layer.
Is 4x upscaling always better than 2x?
Not always. 4x can amplify artifacts or create “invented” textures, especially on faces and text. If 2x already meets your target resolution, stopping there usually looks more natural.
Which format should I export after upscaling, PNG or JPEG?
PNG is safer for text, logos, and sharp edges because it avoids extra compression. JPEG can be fine for photos when you need smaller file sizes, but choose a high-quality setting to avoid new artifacts.
Can AI upscalers recover detail from a very tiny, blurry image?
They can improve perceived detail, but there’s a ceiling. If the face is 40 pixels wide, the tool will guess, and the result may look “off” when someone recognizes the person.
Do free online upscalers keep my images?
It depends on the provider and their terms. If the image is sensitive, it’s smart to read the upload/privacy policy and consider an offline option or get approval from the right stakeholder.
How do I check if an upscaled image is actually better?
Compare at 100% zoom, look at edges, skin texture, hair, and flat gradients. Also check file size and compression artifacts, sometimes “sharper” is just more noise.
If you’re processing lots of images each week and you keep hitting free limits, or you need consistent outputs for brand work, it may be worth setting up a small repeatable workflow and a short list of tools you trust, so you spend less time re-testing and more time publishing.