how to enable usb debugging android is usually the missing step when your computer won’t recognize your phone for ADB, screen mirroring, app testing, or certain data-recovery tools.
The frustrating part is that Android hides the toggle on purpose, and the menu names vary by brand, Android version, and even carrier builds, so copying a random screenshot from another phone often wastes time.
Below is a practical walkthrough that works for most devices, plus quick checks to confirm it’s enabled, what to do when the switch is missing, and how to turn it back off once you’re done.
What USB Debugging actually does (and when you need it)
USB Debugging lets your Android phone accept commands from a computer through Android Debug Bridge (ADB). In plain terms, it allows a trusted computer to “talk” to your phone beyond simple file transfer.
You typically need it for:
- App development and testing (installing builds, viewing logs)
- ADB commands (pulling logs, granting permissions, automation)
- Screen mirroring/control tools that rely on ADB authorization
- Advanced troubleshooting when support asks for logs
You usually don’t need it for basic charging, photos transfer, or Bluetooth pairing.
Before you start: a quick safety and prep checklist
USB Debugging is safe in many normal situations, but it raises the stakes if you plug into unknown computers. According to Android Developers (Google), you should only allow debugging on computers you trust, because the computer can request privileged access once authorized.
- Use a trusted cable (data-capable, not charge-only)
- Plug into a computer you control, not public kiosks
- Have your screen unlock PIN/password handy
- If this is for a one-time task, plan to turn it off afterward
How to enable Developer Options (the hidden menu)
On most Android phones, USB Debugging lives under Developer Options, and that menu is hidden until you unlock it.
Standard steps (most Samsung, Pixel, OnePlus, Motorola, etc.)
- Open Settings
- Go to About phone (sometimes About device)
- Find Build number
- Tap Build number 7 times
- Enter your phone PIN/password if prompted
- You should see a message like “You are now a developer”
If you can’t find Build number, check these common variations:
- Samsung: Settings → About phone → Software information → Build number
- Xiaomi/Redmi: Settings → About phone → MIUI version (tap 7 times)
- Some devices: Settings → System → About phone → Build number
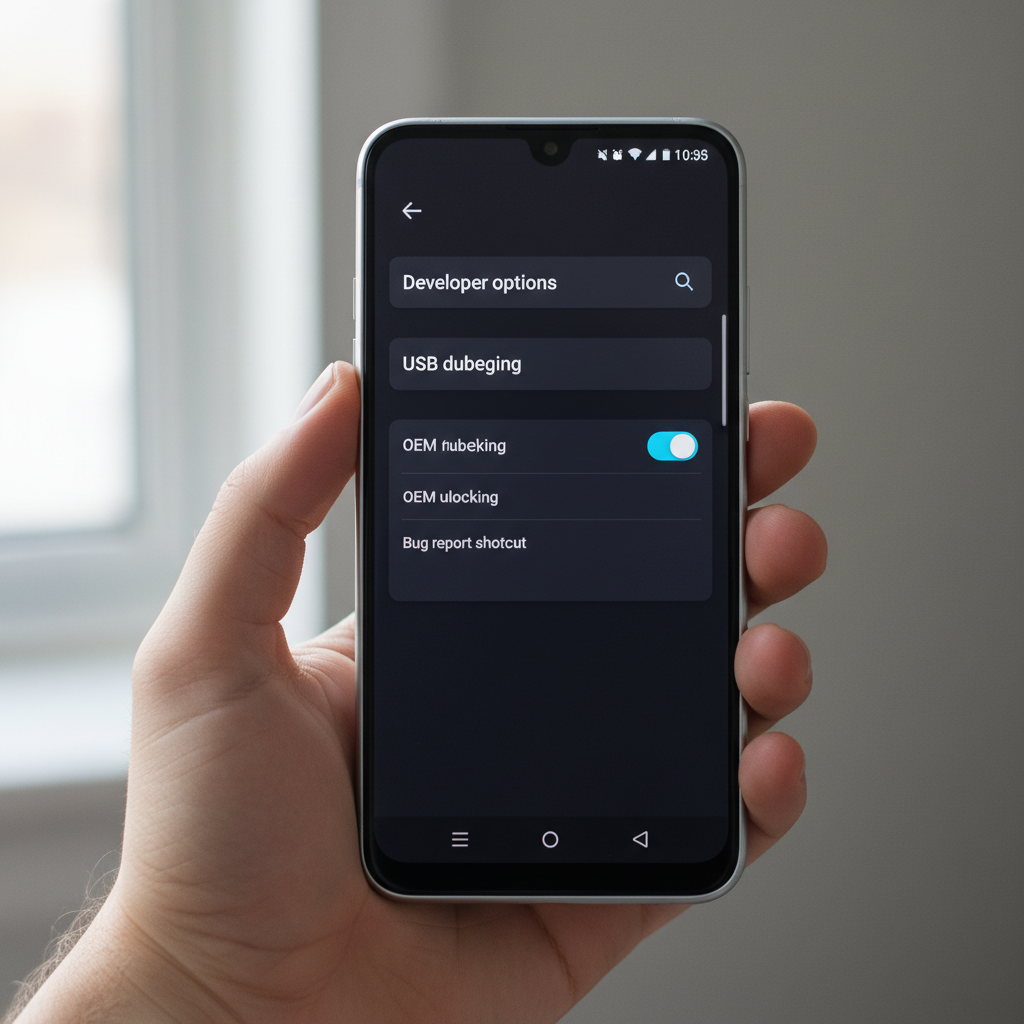
How to enable USB Debugging (the toggle you’re here for)
Once Developer Options are visible, the rest is straightforward, but the exact menu path varies.
- Open Settings
- Go to Developer options (may be under System)
- Find USB debugging
- Turn it On, confirm the warning dialog
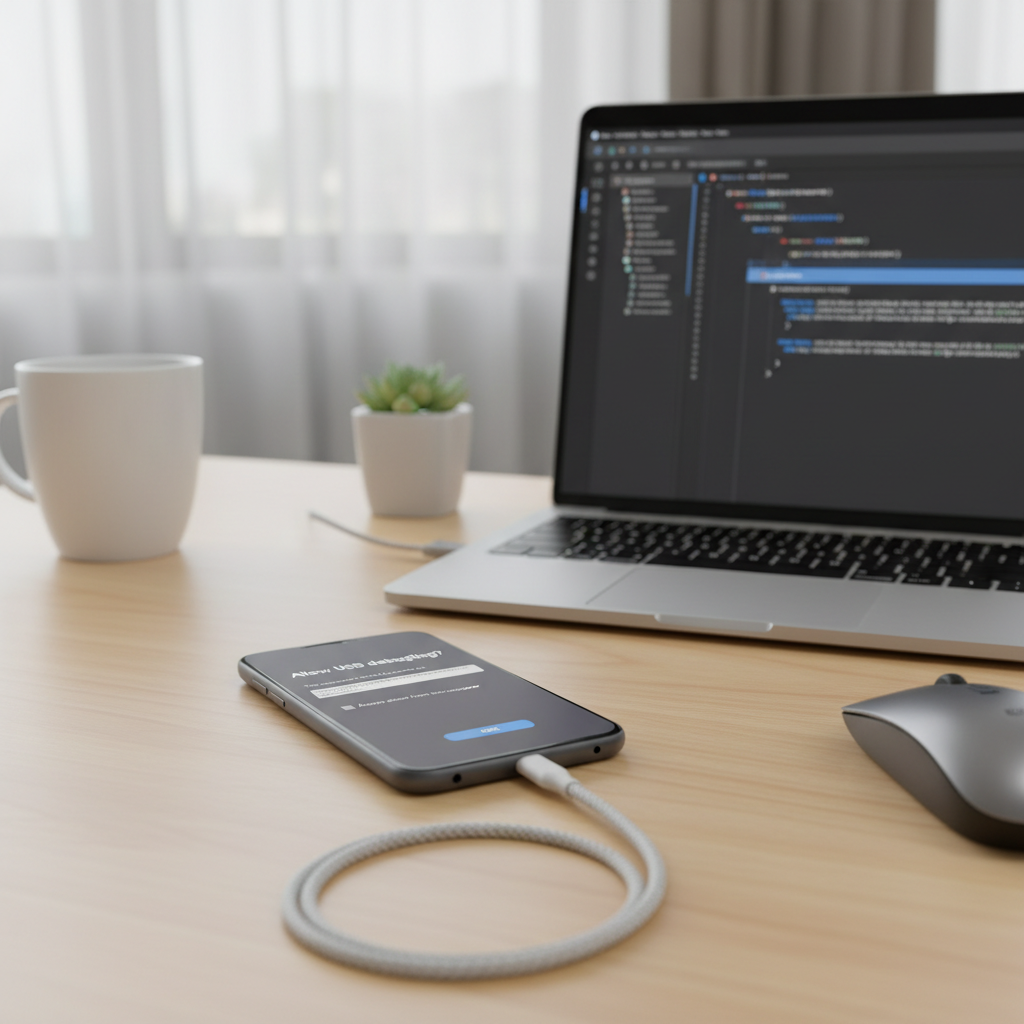
Now connect the phone to your computer. You should get a prompt asking to Allow USB debugging for that computer, often showing an RSA fingerprint. If it’s your machine, you can check Always allow from this computer to avoid repeated prompts.
How to confirm it’s working (fast checks, no guessing)
Many people flip the switch and still can’t run ADB, so it helps to verify with a quick checklist.
On your phone
- You see a prompt: Allow USB debugging? after plugging into the computer
- In Developer options, USB debugging remains On (some devices auto-disable after policy changes)
On your computer (ADB check)
If you have Android Platform Tools installed, open Terminal/Command Prompt and run:
- adb devices
You’re looking for your device listed as:
- device (good)
- unauthorized (phone prompt not accepted yet)
- Nothing listed (cable/driver/USB mode issue)
Troubleshooting: USB Debugging toggle missing or ADB still fails
If how to enable usb debugging android feels “done” but nothing works, the issue is often not the toggle itself.
Common causes and fixes
- Developer options not visible: repeat the Build number taps, confirm you used the right “About” section (Samsung hides it under Software information).
- USB cable is charge-only: try a different cable, ideally the one that came with the phone.
- Wrong USB mode: on the phone, pull down notifications and choose USB preferences, select File transfer or USB controlled by: This device depending on your task.
- Computer authorization not accepted: re-plug the cable, unlock the phone, approve the RSA dialog.
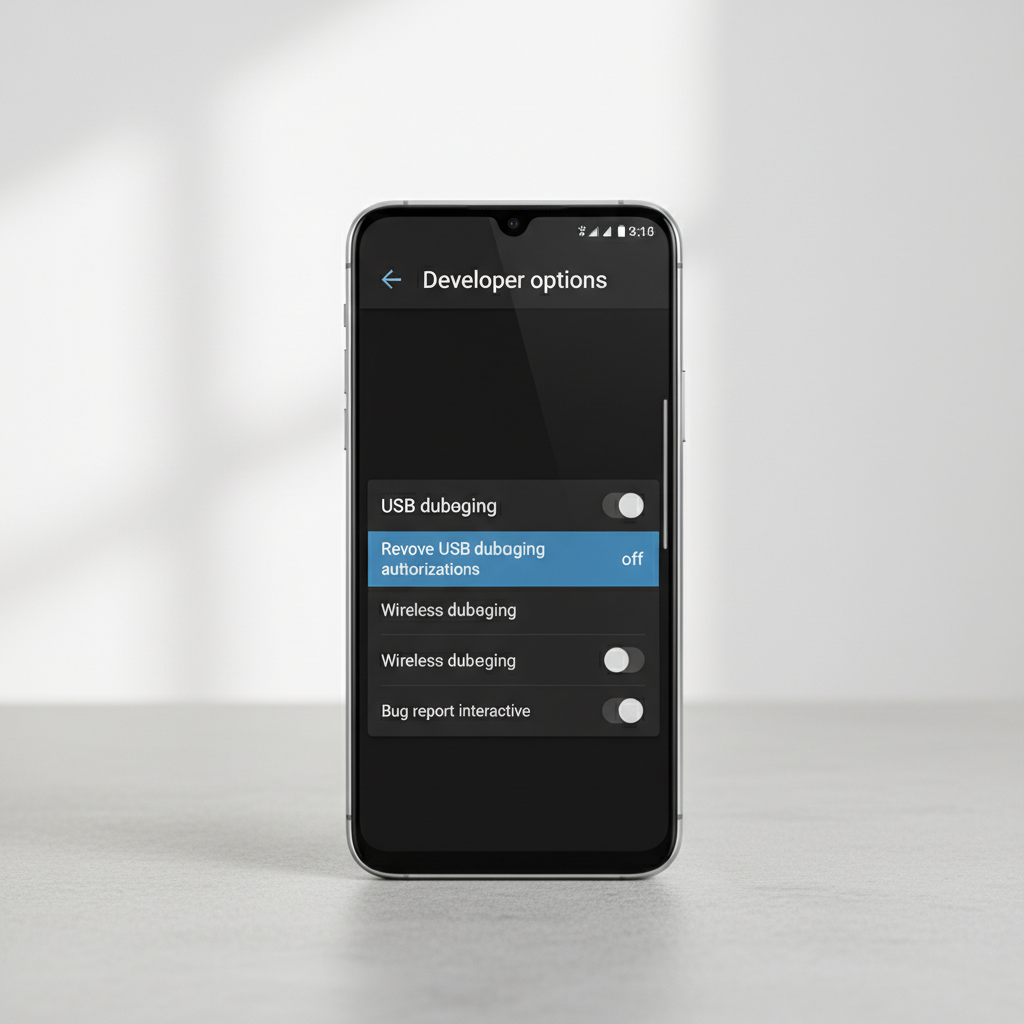
- Stuck on “unauthorized”: go to Developer options → Revoke USB debugging authorizations, then reconnect and approve again.
- Windows driver issues: for some brands, you may need the OEM USB driver; this varies by manufacturer and is common on Windows PCs.
Quick reference table: where to find the settings on popular Android phones
Menus differ, but this table covers the paths most people in the US run into.
| Brand | Enable Developer Options | USB Debugging path |
|---|---|---|
| Google Pixel | Settings → About phone → Build number | Settings → System → Developer options → USB debugging |
| Samsung Galaxy | Settings → About phone → Software information → Build number | Settings → Developer options → USB debugging |
| OnePlus | Settings → About device → Version → Build number | Settings → System settings → Developer options → USB debugging |
| Motorola | Settings → About phone → Build number | Settings → System → Advanced → Developer options → USB debugging |
| Xiaomi/Redmi | Settings → About phone → MIUI version | Settings → Additional settings → Developer options → USB debugging |
Best practices: keep it enabled only as long as you need
Leaving USB Debugging on all the time is not automatically “bad,” but it can be a weak spot if your phone is unlocked and plugged into an untrusted device. If you only needed it for a single setup, it’s reasonable to disable it after.
- Turn off USB debugging when finished
- Use Revoke USB debugging authorizations if you approved a shared or old computer
- Avoid plugging into unknown charging stations; consider a data-blocking adapter if you travel often
Key takeaway: if you’re enabling it for ADB or a one-off tool, treat it like a temporary permission, enable, use, then disable.
When you may need professional help (or at least extra caution)
If you’re enabling USB Debugging for data recovery, device unlocking, or work-managed phones, slow down. Company policies, device encryption, and anti-theft protections can limit what USB Debugging can do.
- Work profile / MDM: your employer may restrict Developer options; talk to IT rather than trying to bypass it.
- Broken screen: you may not be able to approve the RSA prompt; repair shops can sometimes help, and the right approach depends on damage level.
- Security concerns: if you suspect malware or unauthorized access, consider a security-focused technician and avoid connecting to multiple computers.
Conclusion: enable it, confirm it, then clean up
If your goal is ADB or a tool that needs deeper access, how to enable usb debugging android comes down to two moves: unlock Developer Options, then switch on USB Debugging and approve the computer prompt. After that, confirming with an ADB device check saves a lot of circular troubleshooting.
Action you can take now: enable the toggle, plug into a trusted computer, approve the RSA dialog, then run a quick verification. When you’re done, turn it back off or revoke authorizations if you used a shared machine.