Top free video compressors for instagram can save you from the two most common Reel problems: uploads that fail at the last second, and videos that “post” but look softer than what you exported.
Instagram will re-encode your file anyway, so the goal is not “smallest file possible,” it’s predictable compression that holds detail, avoids weird artifacts, and hits reasonable file sizes for mobile upload.
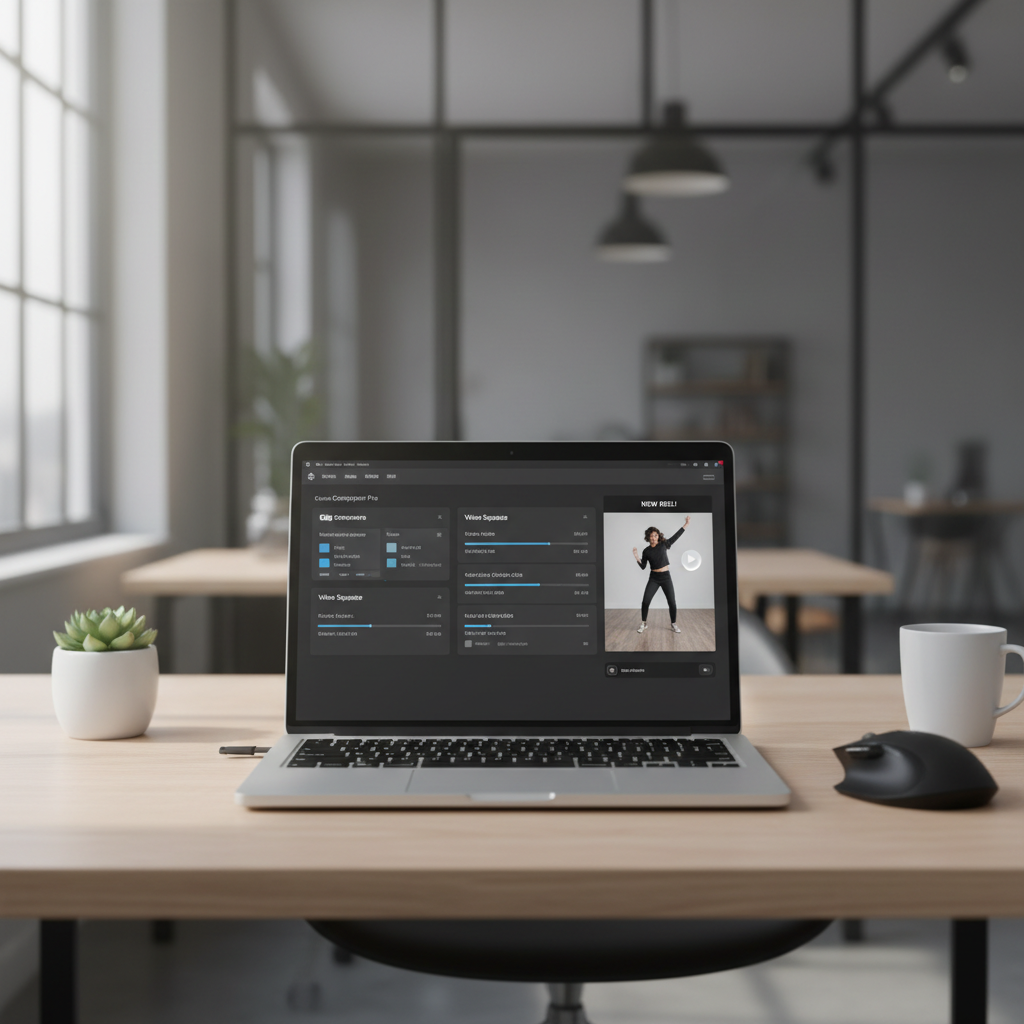
This guide lists reliable free options, what each is good at, and the settings that usually play nicely with Reels. No “one magic preset,” just the trade-offs you actually feel in real posting workflows.
What “compression for Reels” really means (and why uploads look worse)
When you upload, Instagram typically converts your video into its own delivery formats. That means your export settings matter, but so does how “clean” your source file is for a second round of encoding.
- Bitrate too high can backfire: Instagram still re-encodes, and heavy motion plus high bitrate can turn into mush after the platform’s pass.
- Wrong resolution or frame rate often triggers more aggressive processing. Reels usually behave best with 1080×1920 (9:16) and 30 fps in many cases.
- Audio encoding quirks can also bloat files or cause sync issues, especially with unusual sample rates.
- Mobile network reality: even if a file is “allowed,” uploading a huge file over spotty Wi‑Fi is where people lose time.
According to Meta, Reels are designed around vertical video and in-app creation and editing, which is a polite way of saying the platform will optimize delivery for its own pipeline, not for your export preferences.
Quick checklist: do you actually need to compress?
Before you run a file through any tool, check these. If you tick two or more, compression is usually worth it.
- Your Reel takes noticeably long to upload (especially over Wi‑Fi that normally feels fine).
- You export from an editor and get a file that is hundreds of MB for a short clip.
- You see banding in gradients (sky, walls), blockiness in fast motion, or “watercolor” skin after posting.
- You stitched multiple clips, added text overlays, then noticed the final render looks sharper locally than on Instagram.
- You’re repurposing from TikTok/YouTube Shorts and the aspect ratio or frame rate isn’t consistent.
If your file is already 1080×1920 and looks clean, you might not need aggressive compression, sometimes a simple re-export with sane bitrate is enough.
Top free video compressors for Instagram Reels (comparison table)
Here’s the practical view: what’s free, what’s easy, and what tends to hold quality for Reels.
| Tool | Best for | Strengths | Watch-outs |
|---|---|---|---|
| HandBrake (Windows/Mac/Linux) | Best quality-to-size control | Great H.264/H.265 options, constant quality controls | More settings than most people want at first |
| CapCut (Desktop/Mobile) | Creators who also edit | Simple export presets, fast workflow | Exports can vary by version/device, keep an eye on bitrate |
| VLC (Desktop) | Quick convert/compress | Free, widely available, basic profiles | Less intuitive for fine tuning, easy to pick odd profiles |
| iMovie (Mac/iOS) | Apple-native simple exports | Clean H.264 output, easy sharing | Limited compression controls, fewer advanced knobs |
| DaVinci Resolve (Free) | Quality-focused creators | Excellent encoding controls, color management | Heavier install, learning curve |
| CloudConvert (Free tier) | Occasional web-based compression | No install, decent codec options | Free limits, upload time, privacy considerations |
Tool-by-tool picks: when each one is the right move
HandBrake: best when you want consistent results
If you’re serious about repeatable quality, HandBrake is hard to beat for “free.” It’s also the easiest way to avoid the classic mistake of exporting a massive file for no real gain.
- Use case: you export from Premiere/Final Cut/Resolve and want a clean, smaller upload file.
- Why it works: constant quality modes usually preserve detail better than guessing a bitrate.
- Reality check: H.265 can shrink files more, but H.264 is often the safer compatibility choice when you just want fewer surprises.
CapCut: best when speed matters more than perfect control
CapCut’s biggest advantage is workflow. You can edit, auto-caption, then export without bouncing between apps. For many creators, that convenience beats chasing marginal quality gains.
- Use case: fast Reels production on mobile or desktop.
- Tip: avoid exporting 4K for Reels unless you have a reason; 1080×1920 is usually enough and reduces upload risk.
VLC: best for quick conversions in a pinch
VLC can compress, but it’s not designed as a creator-first compressor. Still, if you’re on a shared machine or need a fast re-encode, it does the job.
- Use case: “I need this file smaller right now.”
- Watch-out: choose sane profiles and verify the output plays smoothly before posting.
iMovie / Photos export: best for simple Apple workflows
If you’re already in the Apple ecosystem, iMovie exports are typically clean and reliable. You won’t get deep compression control, but you often don’t need it for short Reels.
- Use case: trimming, basic edits, quick export without extra software.
- Tip: prioritize consistent frame rate and avoid stacking multiple re-exports.
DaVinci Resolve (Free): best when quality issues are coming from your edit
Sometimes the “compression problem” starts earlier: heavy noise reduction, oversharpening, or low-light footage can break apart under any platform re-encode. Resolve helps you fix the source, then export smart.
- Use case: you care about color, skin tones, and avoiding banding.
- Tip: add a tiny amount of film grain/dither in gradients if banding shows up after upload, it can reduce visible steps once Instagram re-encodes.
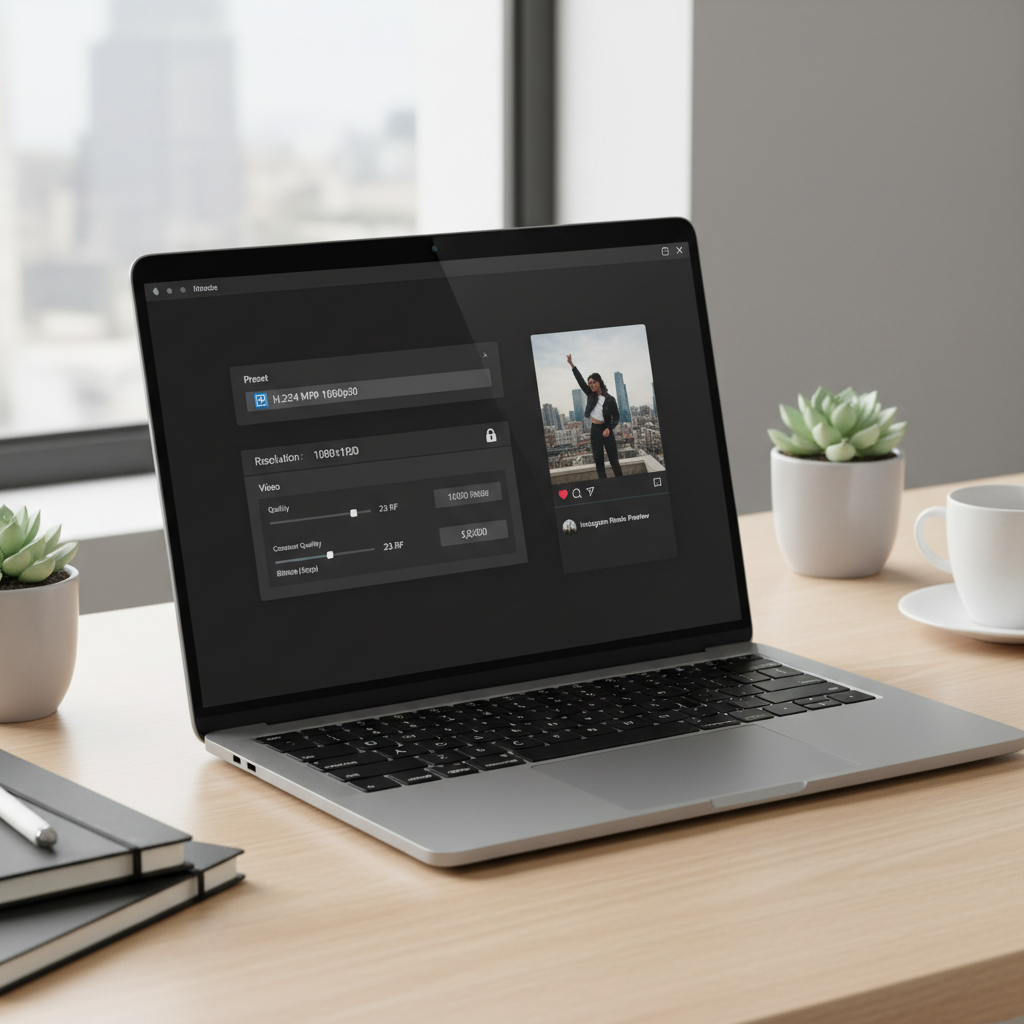
Recommended export settings that usually work for Reels
These are “safe defaults” for many accounts. If your footage is extremely detailed (sports, lots of leaves, city night shots), you may need to nudge bitrate up a bit.
- Resolution: 1080×1920 (9:16)
- Frame rate: 30 fps (match your source if you shot 24 or 60, but avoid weird conversions)
- Codec: H.264 (AVC)
- Bitrate (target): roughly 8–16 Mbps for most Reels
- Audio: AAC, 128–256 kbps, 44.1 kHz or 48 kHz
If you use HandBrake, a constant quality setting (often shown as RF/CRF) in a moderate range can be more consistent than picking a single bitrate for every clip.
A simple workflow: compress without wrecking quality
This is the repeatable routine that saves time when you post frequently.
Step 1: Start with a clean “upload master”
- Export once from your editor at 1080×1920, H.264, and a reasonable bitrate.
- Keep text overlays inside safe margins so Instagram UI doesn’t cover them.
Step 2: Compress only if needed
- If the file feels too big, run it through one compressor pass (HandBrake is the most controllable option).
- Don’t compress, then re-compress again unless you absolutely have to, artifacts stack quickly.
Step 3: Quality check like a platform
- Watch the output on your phone, full screen, with motion and gradients.
- Look for macroblocking in fast pans and banding in skies or walls.

Common mistakes that make Reels look worse
- Uploading 4K “because higher is better”: for many accounts, it just increases processing time and can trigger harsher re-encoding.
- Crushing bitrate too far: yes, it uploads fast, but faces and backgrounds can turn waxy.
- Using variable frame rate (VFR) exports: some phone captures are VFR, and some tools handle it poorly, causing stutter or sync issues.
- Over-sharpening before compression: sharpening creates edges that codecs struggle with, then Instagram amplifies the mess.
- Relying on a random “online compressor”: quality can be inconsistent, plus you may be uploading client footage to a third party.
According to the Federal Trade Commission (FTC), consumers should pay attention to privacy claims and data handling when using online services. If your footage is sensitive, offline tools are often the safer bet.
Conclusion: the “best” free compressor depends on your workflow
If you want the most control with no cost, HandBrake is usually the most dependable pick. If you value speed and all-in-one editing, CapCut is often the practical choice. And if you’re troubleshooting quality issues that start in the grade or effects, DaVinci Resolve can fix more than a compressor ever will.
Action steps that tend to work: export a clean 1080×1920 H.264 master, compress only once if the file feels heavy, then preview on your phone before you post.
Key takeaways (save this)
- Optimize for Instagram’s re-encode, not for your local playback.
- 1080×1920 + H.264 is a safe baseline for many Reels.
- One good compression pass beats multiple “quick” re-saves.
- Choose tools by workflow: control (HandBrake), speed (CapCut), deeper fixes (Resolve).
FAQ
What are the top free video compressors for instagram creators who post Reels daily?
For daily posting, HandBrake and CapCut are usually the most practical: HandBrake for consistent, repeatable compression, CapCut for speed when you’re editing and exporting in one place.
Will compressing a video before uploading reduce Instagram quality?
It can, but it doesn’t have to. If you compress gently to a reasonable bitrate and keep resolution and frame rate consistent, you often get fewer upload failures without a noticeable quality hit.
Is H.265 (HEVC) better than H.264 for Reels?
H.265 can produce smaller files at similar quality, but compatibility and re-encode behavior can vary. If you’re troubleshooting unpredictable results, H.264 is usually the safer baseline.
Why does my Reel look sharp in my gallery but blurry after posting?
That’s typically the platform re-encoding plus your clip’s complexity (fast motion, noise, detailed textures). A cleaner export and a sensible bitrate often reduce the blur more than pushing resolution higher.
What bitrate should I use for Instagram Reels?
Many creators land somewhere around 8–16 Mbps for 1080×1920, then adjust based on content. Highly detailed footage may need more, while talking-head clips can often go lower.
Are online video compressors safe to use for client work?
Sometimes, but it depends on the service’s privacy policy and your client’s expectations. If the content is confidential, using an offline compressor is usually a safer choice.
How do I know if I compressed “too much”?
Look for blocky shadows, banding in smooth backgrounds, or faces that look waxy. If you spot those, bump quality up slightly or reduce the amount of compression and test again.
If you want a simpler setup
If you’re juggling a lot of Reels and you’d rather not guess settings every time, it may help to standardize one “upload preset” in a tool you already use, then only switch compressors when a clip is unusually large or keeps uploading poorly.